Dev Containers: First Steps

Today I learned in a talk about dev containers. They are fairly new and seem to be a bit more of syntactic sugar to something I used some years ago: What if your toolchain for development resides in containers that you can spin up and down, revert and reset as you’d like?
The whole problem with node.js in the early days about having the right environment installed, that nvm tackled for us in the end, were gone. Also you could deinstall toolchains just by tossing images for good and they would not leave a trace as might happen when added to the host OS. But you had to set it up and link it to your editor or IDE yourself.
The talk I saw showcased really well, that debugging, exposing ports and using databases within containers was fairly easy and natural. It did not feel that much like some hacky construct, but a fleshed out idea.
But what are Dev Containers?
Dev Containers are built upon containers run by docker or other compliant CLIs. The target of this whole procedure is VSCode but I heard that Rider should do well, too, but haven’t tried yet.
The start of such a container is a Template. This is most of the time some kind of technology like .NET, Java, Ruby or even Jekyll. After that additional Features can be installed. Features are tools like Docker-in-Docker, Git, Azure CLI, Kubectl, Java etc. This is where customization for the particular development environment will happen.
How to setup such a Dev Container?
To start using Dev Containers, besides a running compliant docker CLI and engine, it is necessary to write a devcontainer.json file. This is the whole configuration of the dev container and its features. In Visual Studio Code there is an extension for Dev Containers which has a in-built wizard to help with the first setup. This writes a simple devcontainer.json file for it and via the plugin in VSCode every dev container can be run. It’s quite similar to the docker plugin.
A dev container can be linked to a workspace adding a local workspace to it or can be part of a repository that is run locally or even remotely. In this blogs case the devcontainer.json file is part of the repository and looks like this at the time of writing
// For format details, see https://aka.ms/devcontainer.json. For config options, see the
// README at: https://github.com/devcontainers/templates/tree/main/src/jekyll
{
	"name": "Developer's Journey",
	// Or use a Dockerfile or Docker Compose file. More info: https://containers.dev/guide/dockerfile
	"image": "mcr.microsoft.com/devcontainers/jekyll:2-bullseye",

	// Use 'forwardPorts' to make a list of ports inside the container available locally.
	"forwardPorts": [4000],

	// Configure tool-specific properties.
	"customizations": {
		"vscode": {
			"extensions": [
				"yzhang.markdown-all-in-one",
				"DavidAnson.vscode-markdownlint",
				"bierner.markdown-emoji",
				"streetsidesoftware.code-spell-checker",
				"bierner.markdown-preview-github-styles",
				"GitHub.vscode-pull-request-github"
			]
		}
	},
}
The name is the name of the container. image defines the template to use. forwardPorts is pretty self-explanatory and customizations holds the additional features to setup when running.
Github Codespaces
One important showcase of the talk for me was using Github Codespaces. The speaker had a blog on github pages and just had the use case of writing something or fixing a typo while on the road. Github Codespaces can use pre-built dev containers to spin up a dev environment in the browser. This is a browser version of Visual Studio Code, but it can also be targeted on the local device. In any case, the dev container will be used and dependencies are installed. Jekyll needs ruby and some gems, so those can be pre-installed and everything is ready to run in like 30 seconds.
I just did this an hour ago and setting it up is like this:
- I pushed my local
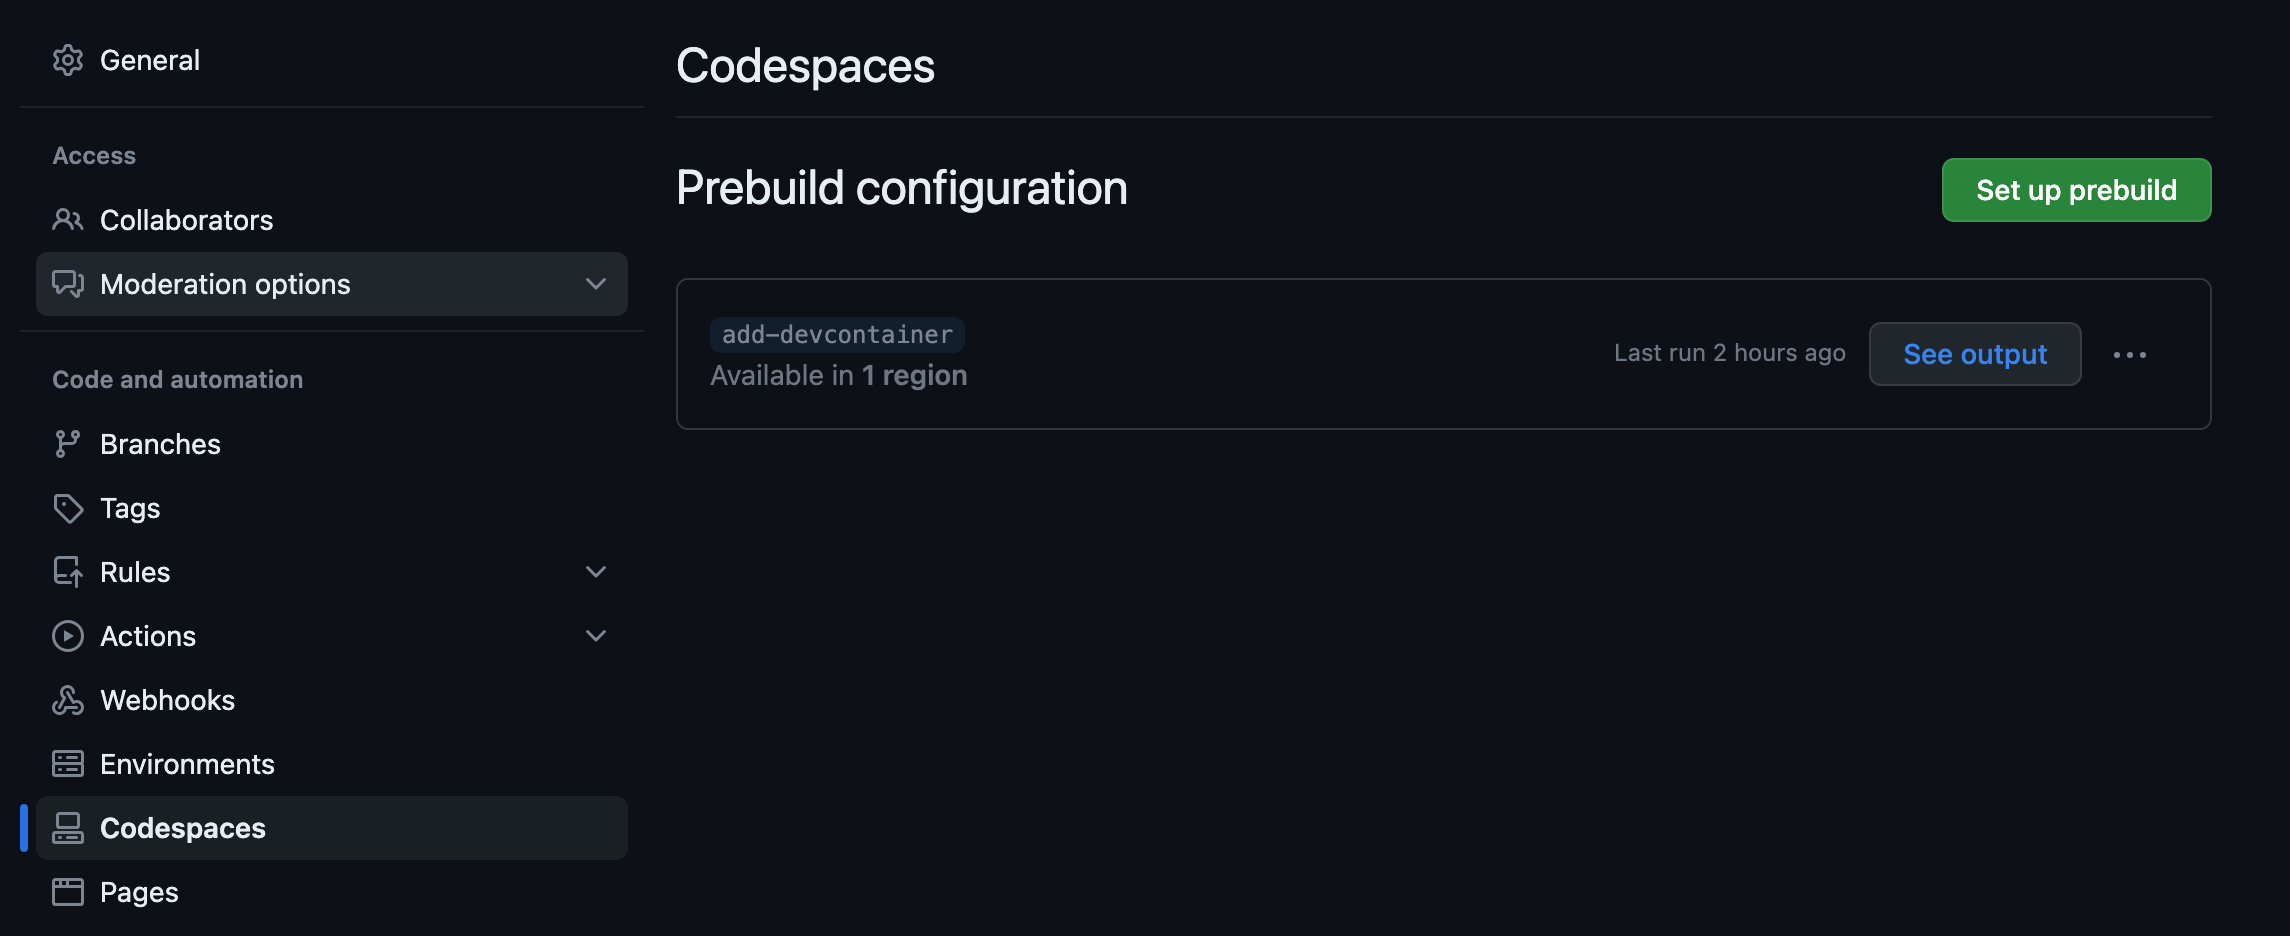
devcontainers.jsonfile to a new remote branch. - In the repositories settings, I went to
Codespacesand setup a new pre-built space. - This needs a branch and config file to use, so I selected the new branch and freshly created
devcontainers.jsonfile. - After clicking create, I waited until the Github action was done.
- I used the Codespace in VSCode via the Github Codespaces plugin that automatically showed my new dev container.
Note: Codespaces is a priced feature. There are some free hours per month for some account types and for single non-power users this might be ok. For my blogging part it is totally fine for example. Yet, keep in mind to shutdown the codespace again and to not go for maximum cores when running the Codespace as the hour budget is based on used cpu core time.
Conclusion
I think for local development dev containers can be really fun and helpful. The integration in VSCode is pretty good so that even exposed ports got their own tab and highlighting when ports are exposed and in use. It heavily depends on your setup and whether or not it is easy to setup a development project or if there are many of them to handle.
Onboarding to new projects might be easier by providing devcontainer.json files that just work. In case Rider works with them, you even got a fully fledged IDE and might not need to hassle that much with configurations like private package registries or whatever challenge the company environment holds.
As of now it is quite in an early stage and is more a fun thing to use for me, but nothing too serious, yet I hope and think it might get there soon when integrations follow.